If I was brainwashed and robbed, this is how I'd start flying FPV. Hang on for the firehose of information.
FPV Simulator Train first!
Flying these speed machines is no joke, and you need to prepare for it. You should FIRST purchase a controller and a simulator.
One of the accurate to real life simulators. It's branded for racers, but works great for learning.
$ • PC + Mobile • Realistic physicsOnce you have purchased and downloaded the software, connect your controller, pick a track or open field, and start building muscle memory. Desktop is the best experience, but the mobile version also works.
Fly for at least 20 hours or until you no longer feel mental strain directing the drone where you want it to go. Once you reach this point, you're ready for the real thing.
Controller EdgeTX + ExpressLRS
These are the three I would recommend. They are all very high quality and priced well. Each runs the same system called EdgeTX and use ExpressLRS (ELRS) for their remote-control link. ELRS nowadays provides the lowest latency and best range. Both EdgeTX and ELRS are open source! This is perfect for longevity, reliability, and keeping prices low. I'd probably decide based on size. All function the same.
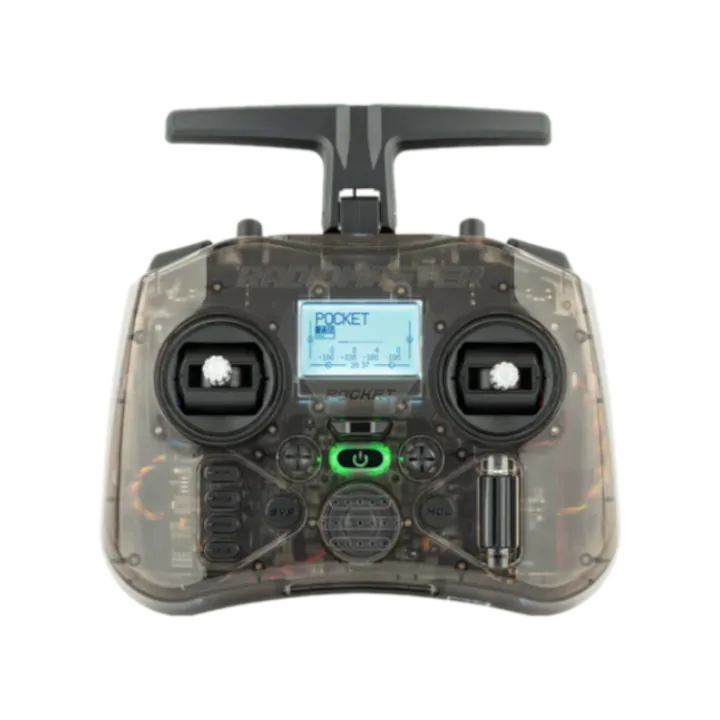
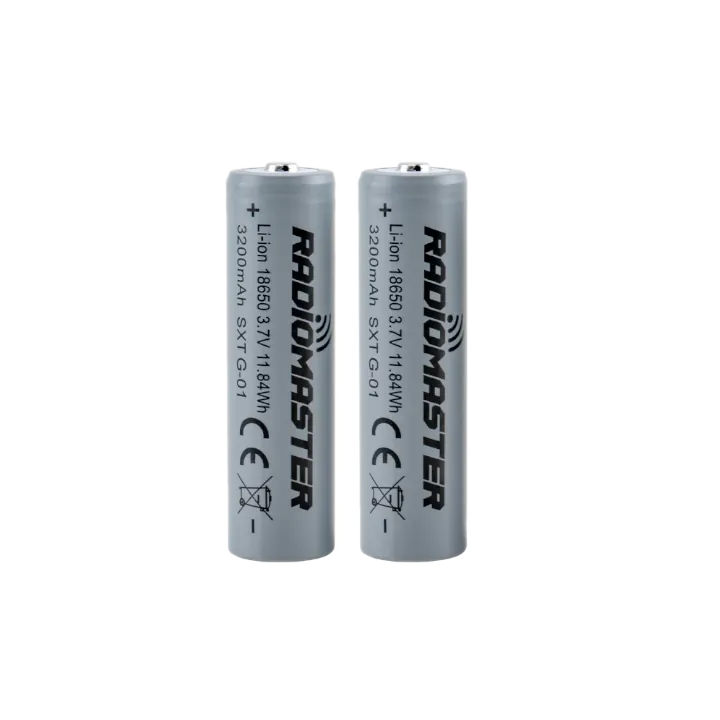
The Pocket is the smallest full-featured ELRS radio available. It runs on two 18650 cells and fits in a jacket pocket. Great for traveling light. 250mW output is plenty for most flying scenarios.
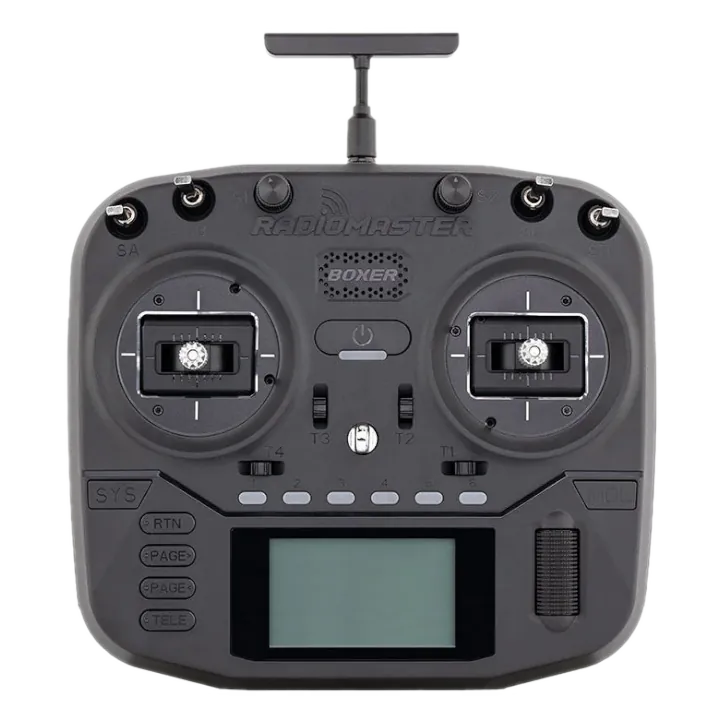
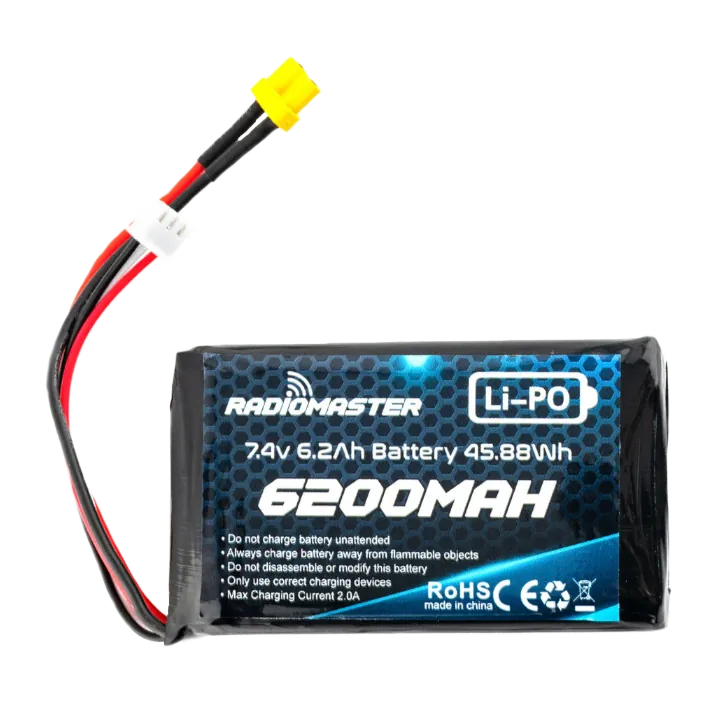
The Boxer hits the sweet spot: compact enough for a backpack, but with 6 switches and a full 1W ELRS output. The 2S LiPo gives strong battery life. A great all-rounder for most pilots.
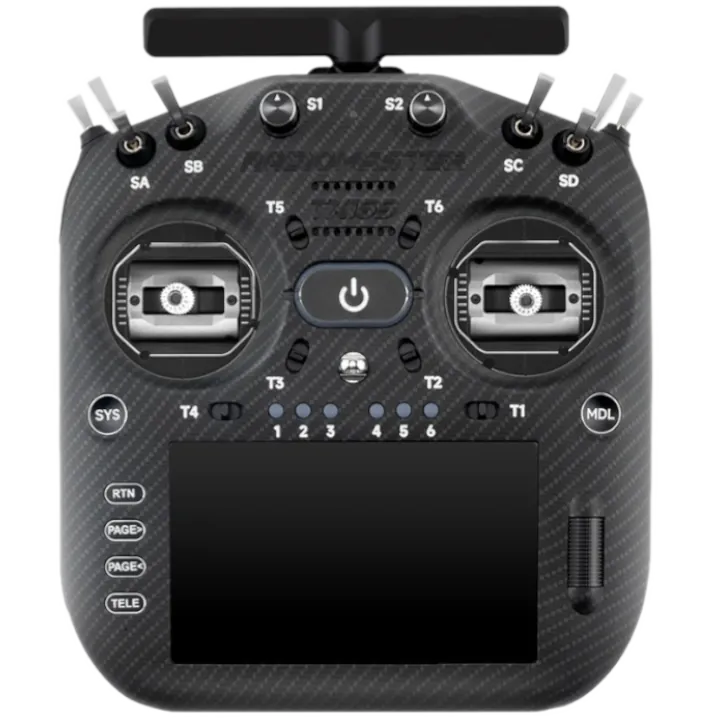
The TX16S is the flagship. If you want the most switches, a built-in color touchscreen, and the most upgrade paths, this is it. Slightly bulkier but you have more switches.
Goggles Analog, HDZero, or DJI?
Three main options I'd consider are Analog, HDZero, and DJI. There are others, but these three have their own "best-in-class" performance. Analog has the best prices, availability, nearly the fastest video link, and the best range with a certain 5W video transmitter (VTX) (potentially illegal in certain areas). As of recent years with new alternatives, Analog really shows it's age with regard to video quality. If you want a digital video with the ultimate fastest response times, albiet with less range, go HDZero. If you want the best looking digital video and great range (essentially commercial work), DJI. I personally would try and buy any goggle used on ebay or elsewhere, but these links are directly from the manufacturer to let you get your bearings.

The EV800D is the classic budget analog goggle. It features a 5" LCD screen, diversity receivers, and a built-in DVR to record your flights. The budget way to get into FPV.
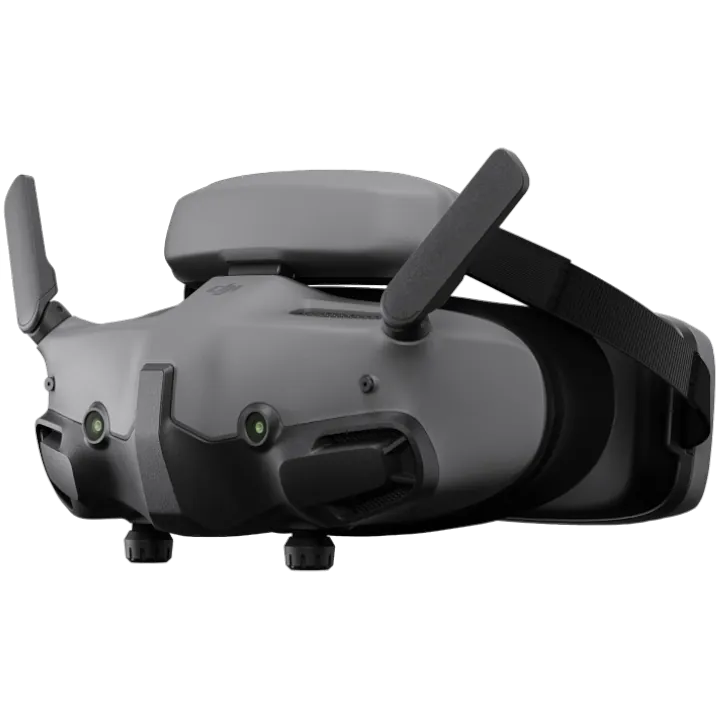
DJI Goggles 3 deliver the best-looking digital video with impressive range. The built-in battery keeps the setup clean. The trade-off is full ecosystem lock-in — when DJI releases new hardware, you'll likely need to upgrade both the goggles and the video system on your drone together.
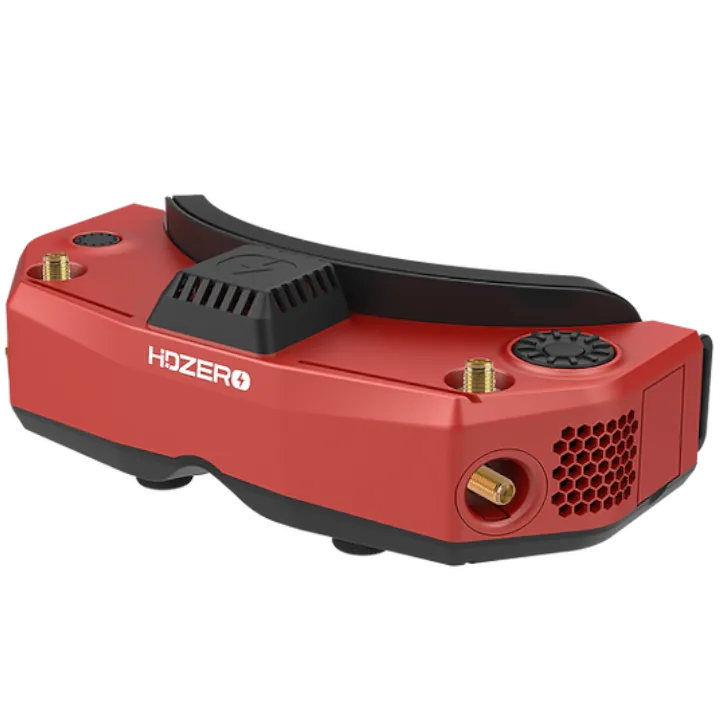
*The HDZero Goggle 2 is also essentially the best for Analog, if you want that.
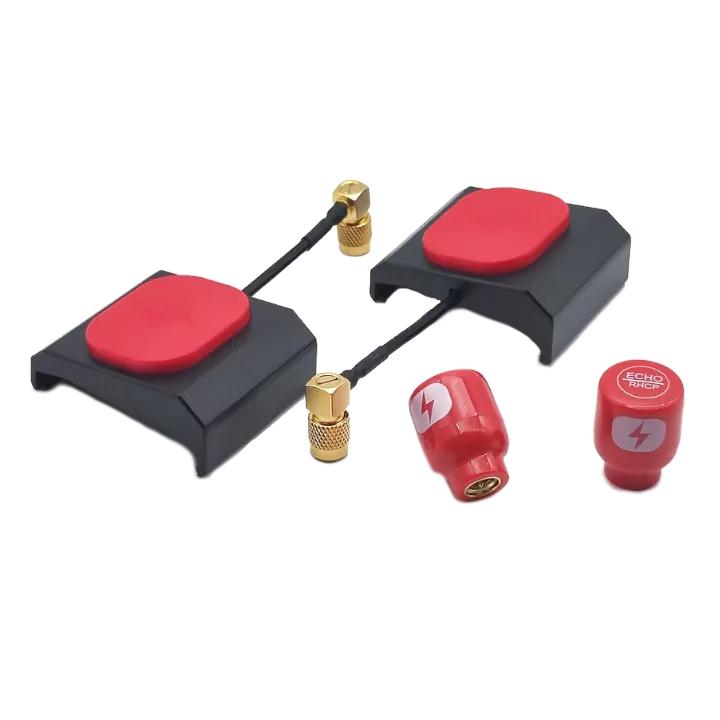
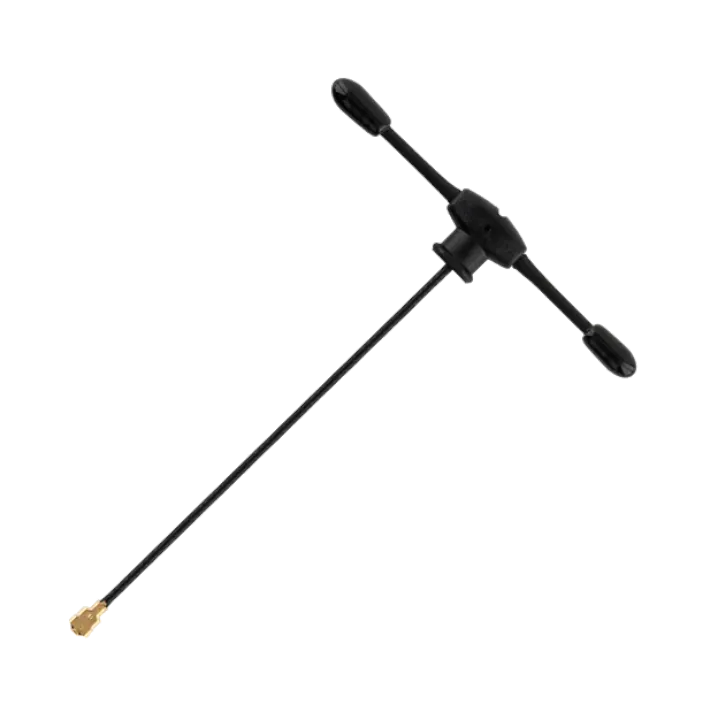
HDZero gives you the lowest latency digital video link available. It's 1-2ms faster than analog, perfect for that "one-with-the-quad" feel. The echo antenna kit can be bought in a combo with the goggles to save some money. Powered off a drone battery, or purchase a small power bank like this with an adapter.
Drone Tinywhoop or 5-inch?
Where you live and where you want to fly will determine the best drone to buy. If you are confined indoors or around people, purchase a tinywhoop. If you can fly in open spaces and parks, consider building a 5 inch drone.
For simplicitiy's sake, I will group all of the Tinywhoops together and separate the 5 inch drone based on the different video systems. There are other parts which will work universally. Those are also listed.

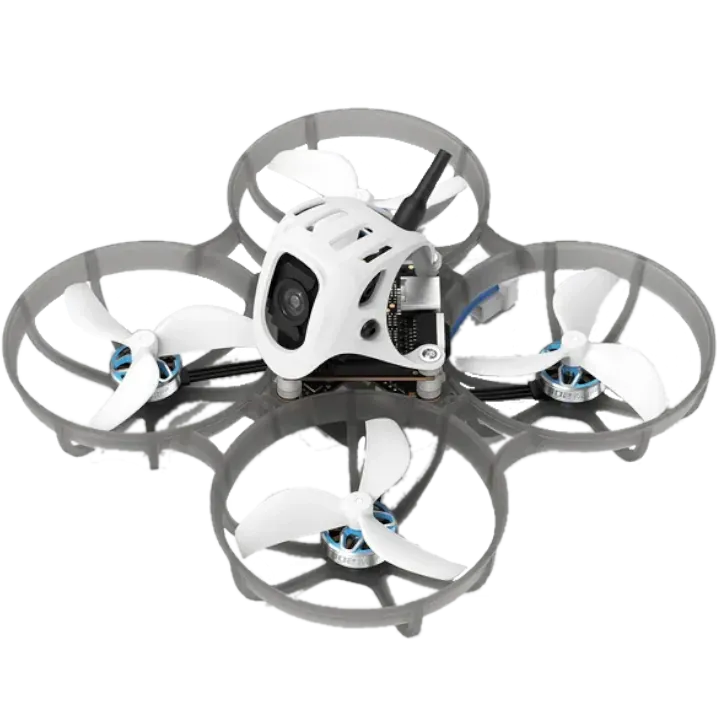
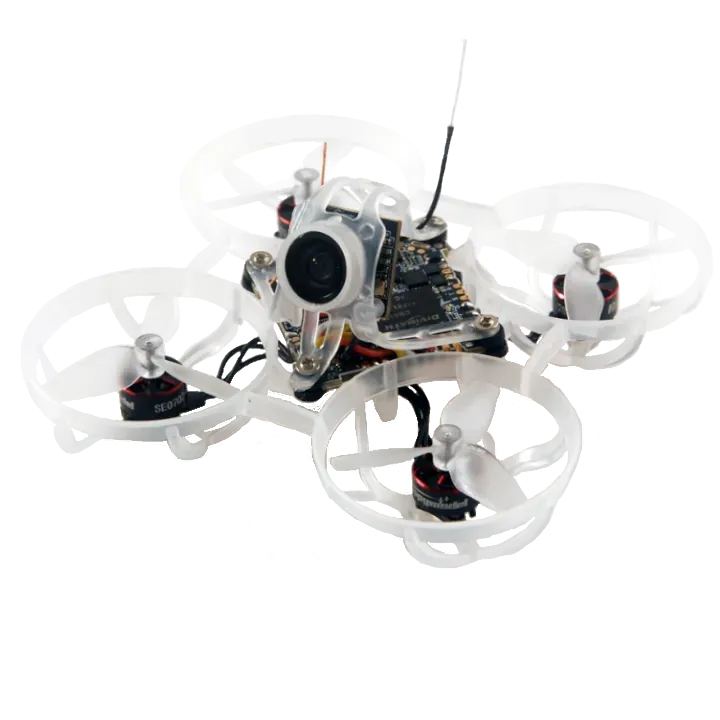
Pick whichever matches your goggle system. The Air65 runs analog video, the Meteor75 Pro uses DJI O4, and the Mobula6 pairs with HDZero. All are ready-to-fly. Simply bind the drone to your controller and go fly!
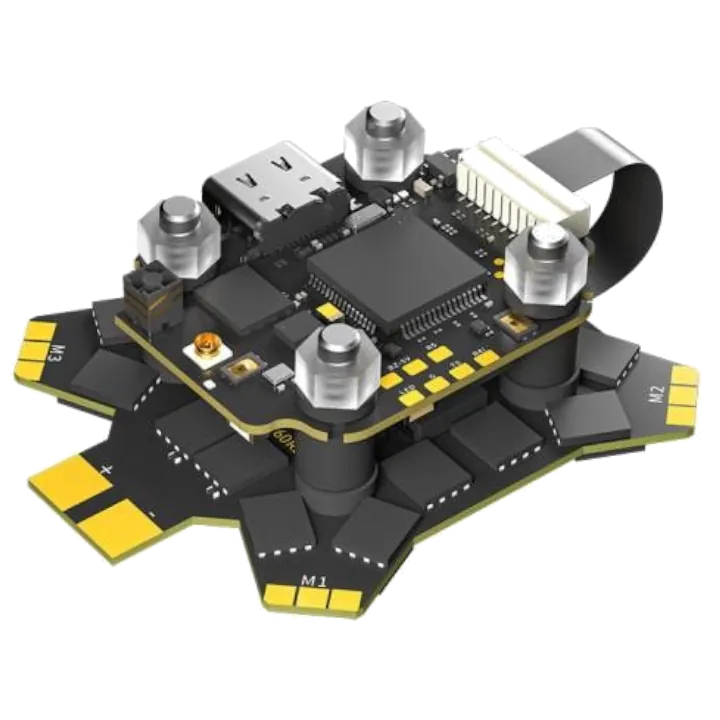
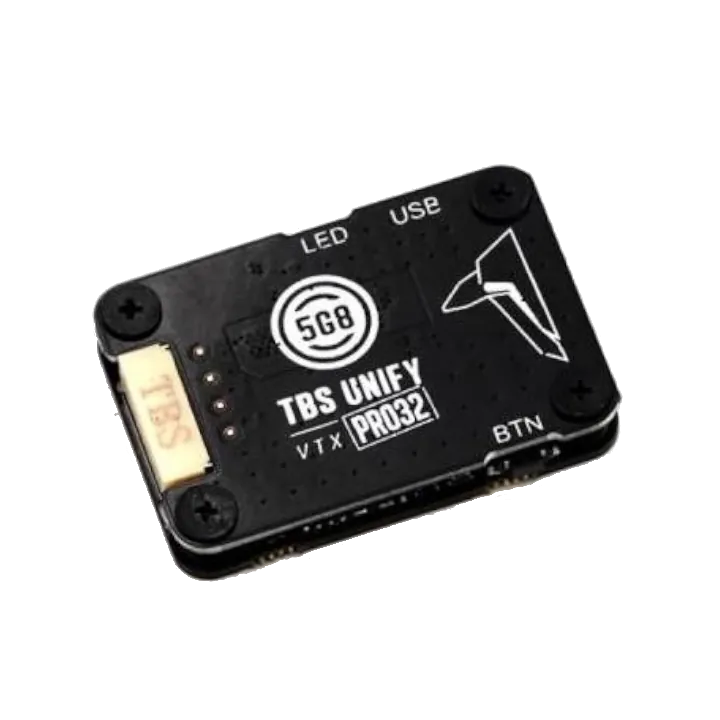
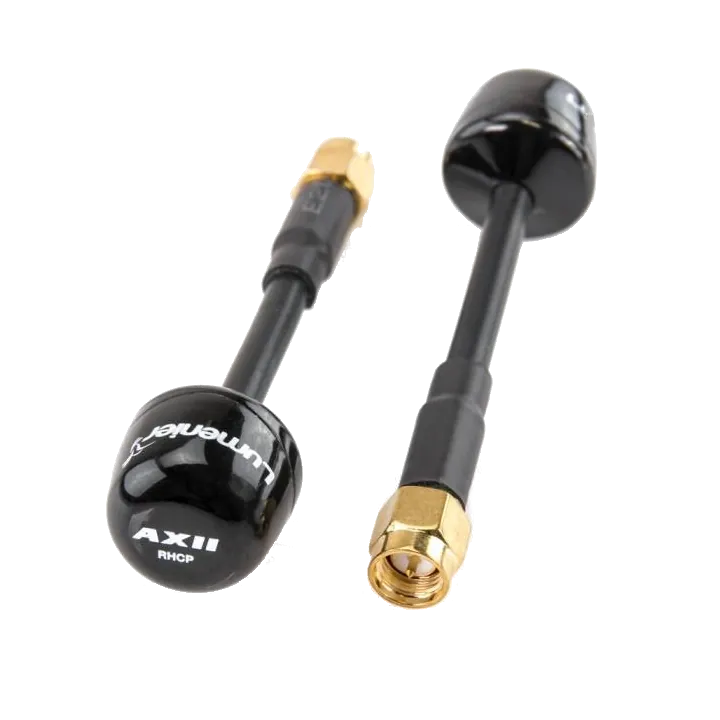
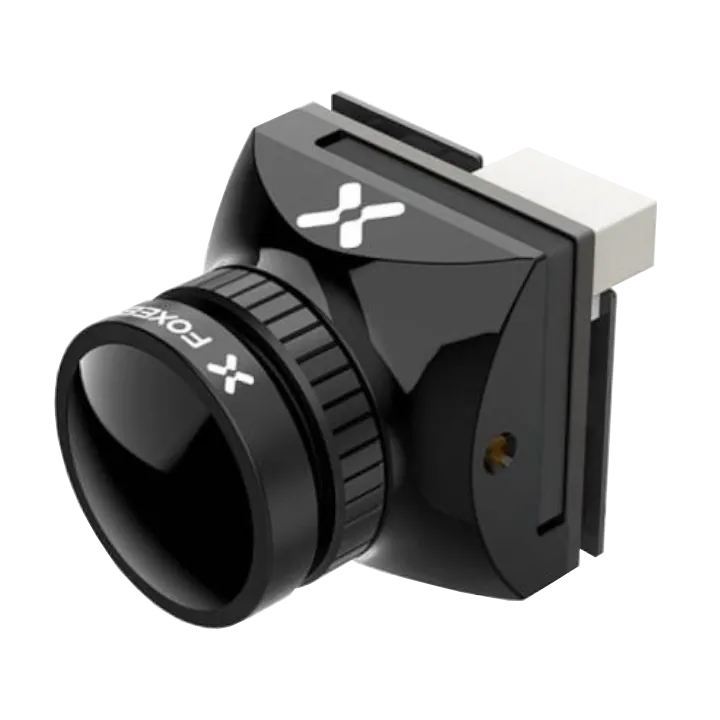
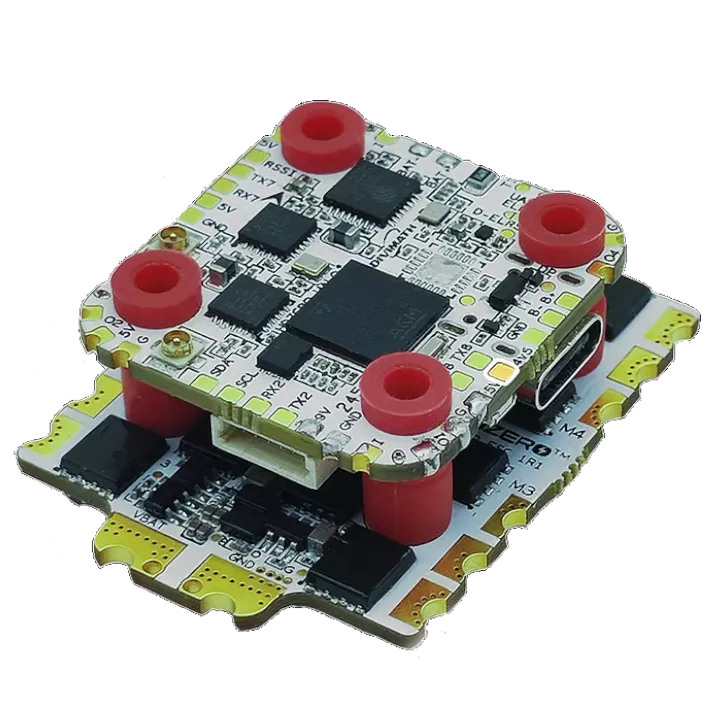
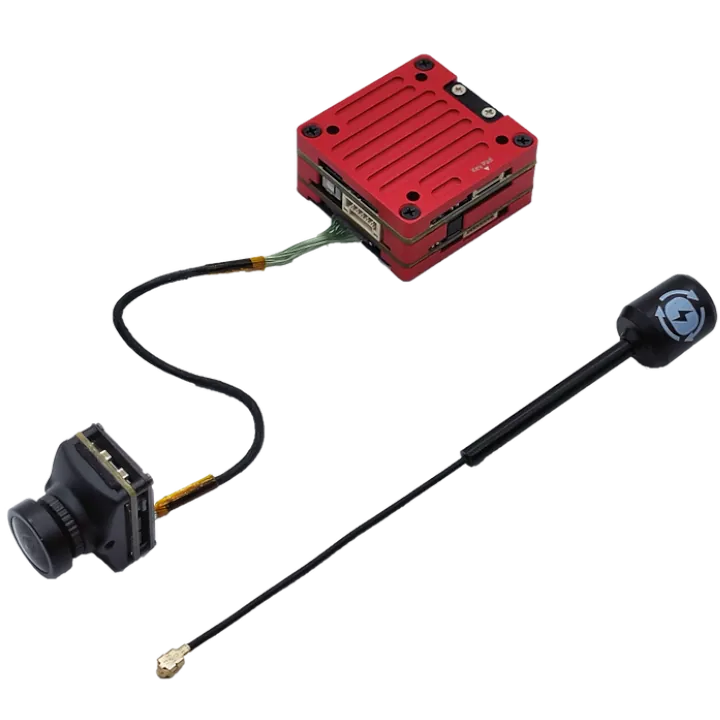
The iFlight Borg 5S/60R is a proven F4 + 60A ESC stack. The TBS Unify Pro32 VTX paired with AXII2 antennas delivers solid analog video range. The Foxeer T-Rex micro camera rounds out the all-analog 5-inch build.
The HDZero Halo Stack pairs cleanly with the Freestyle V2 VTX kit. Antennas and all necessary wiring are included in the kit, which keeps the build tidy. Best digital latency available.
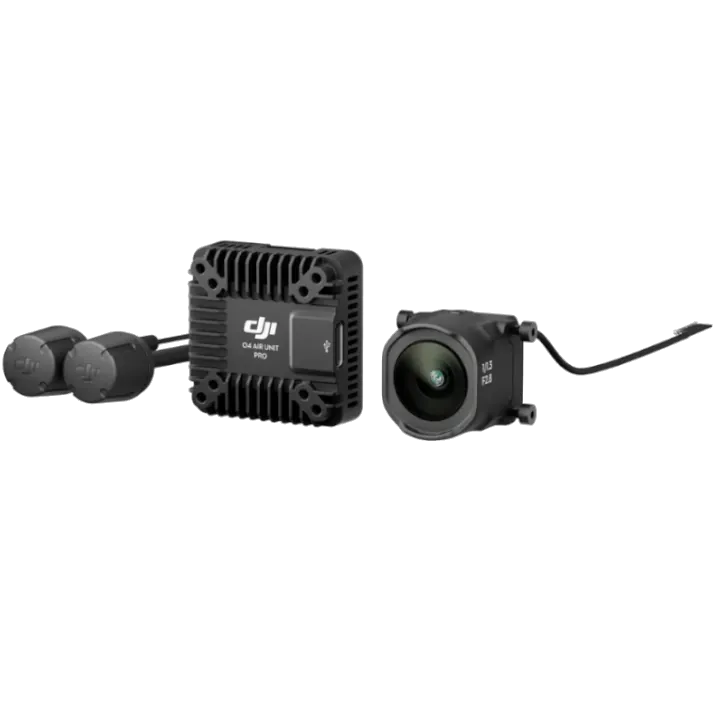
Want DJI video quality with the HDZero stack's reliability? This combo gives you the best of both worlds — HDZero handles flight control while the DJI O4 Pro Air Unit transmits to your DJI Goggles 3.
Make sure you select the proper camera mount when you buy the frame (DJI O4 for O4, Universal for the rest).
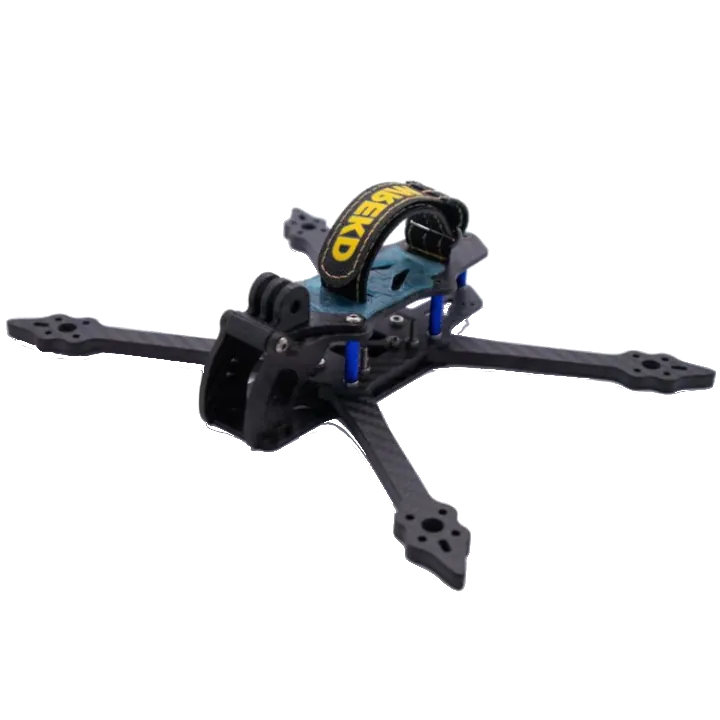
Now that you have all the components, here is a nicely documented tutorial on assembling the drone. Open the video on YouTube to see the rest of the videos in the series. Also, if you want help assembling the Vannystyle frame, watch this video.
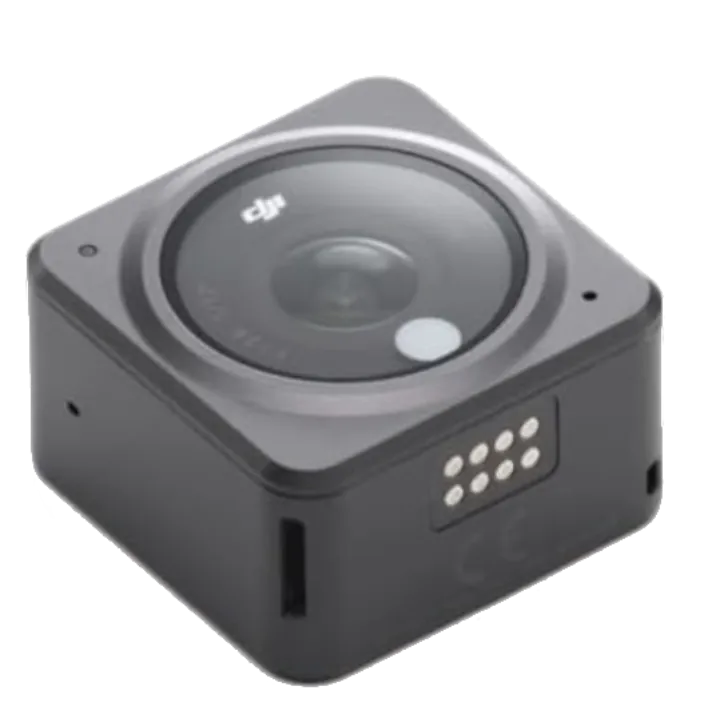
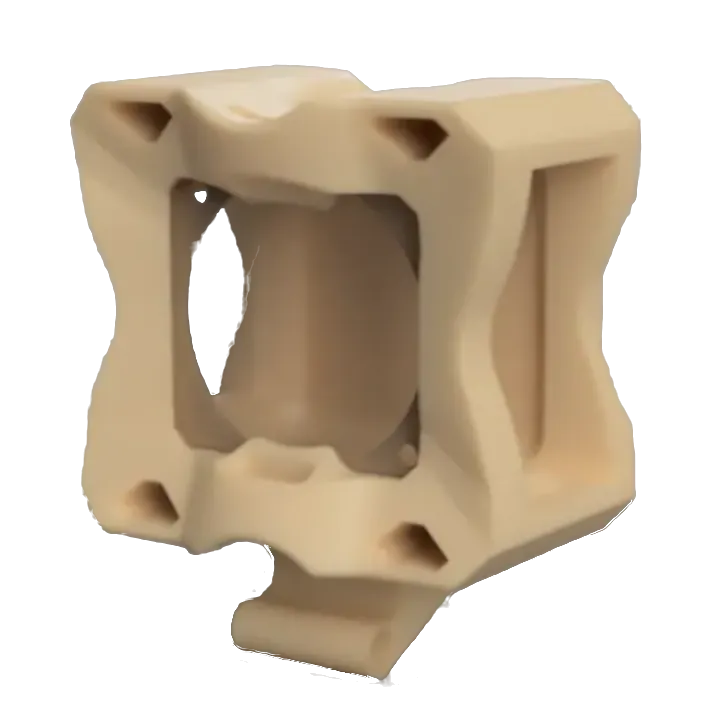
If you want to record cinematic HD footage separate from your FPV feed, the DJI Action 2 strapped to the Vannystyle Pro via the 3D-printed diamond mount is an excellent combo.
Batteries Quality over price
Not all batteries are created equally. Not all batteries are priced equally. My recommendations sway towards quality/performance over price while still not paying over the top.
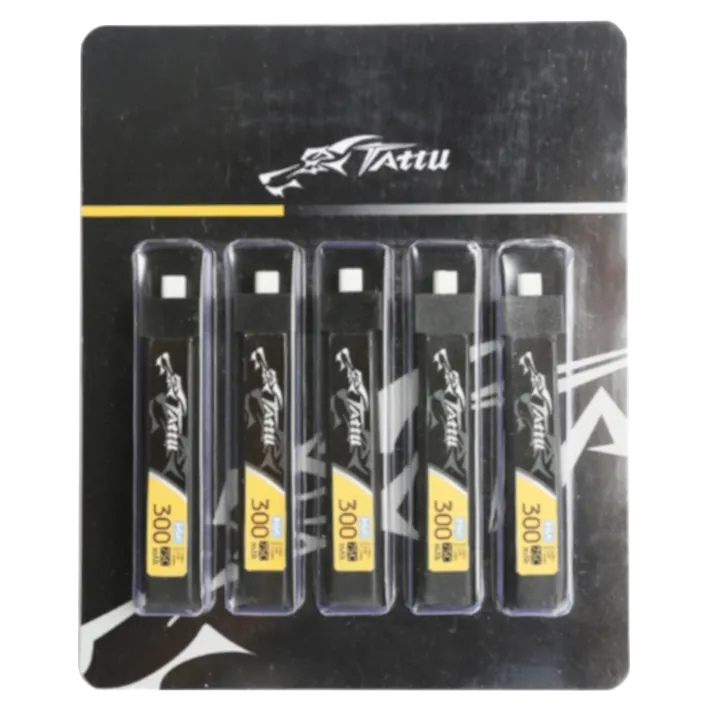
Tattu 1S HV packs are a reliable, widely used choice for tinywhoops. Buy as many 5-packs as your budget allows — you'll want them to keep sessions going.
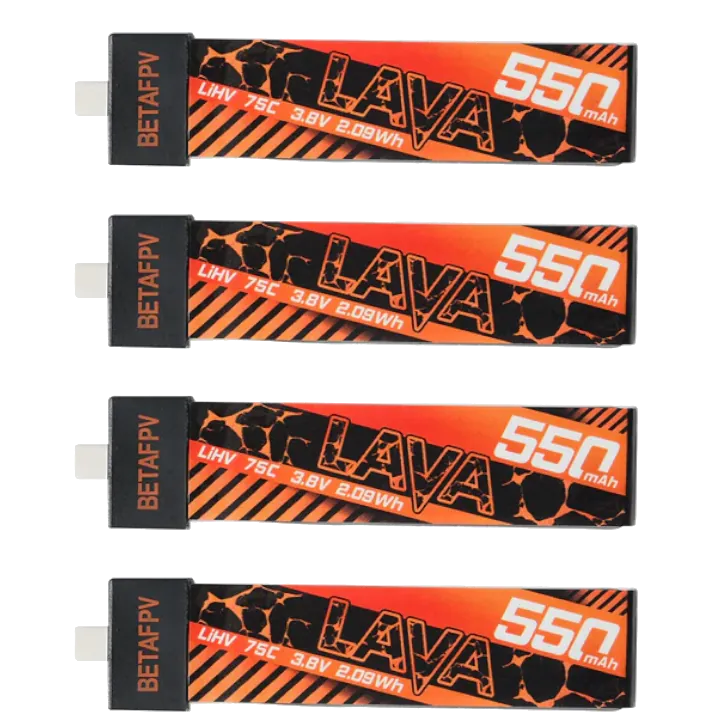
LAVA batteries from BetaFPV are purpose-built for the Meteor75 Pro. Higher capacity and an excellent discharge curve keep power consistent throughout the pack.
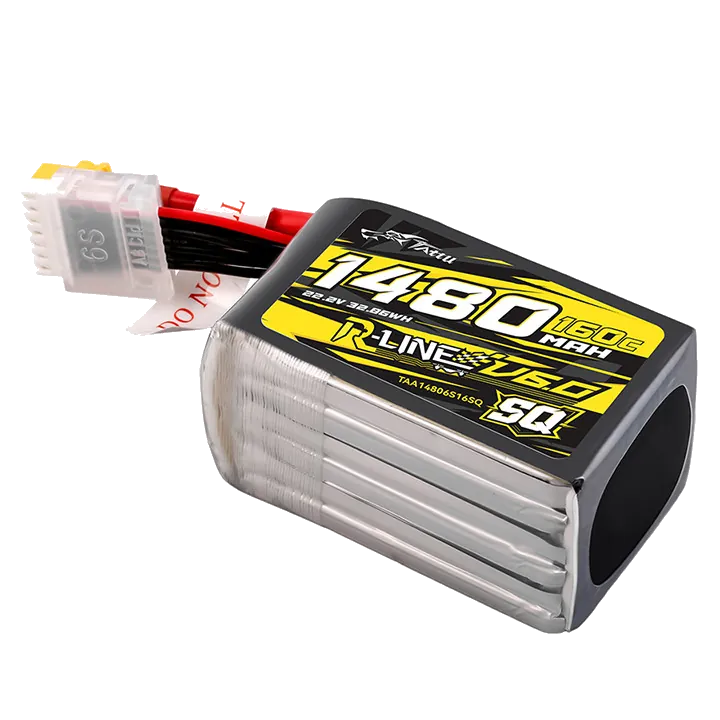
The Tattu R-Line V6 is widely regarded as one of the best 6S freestyle packs available. The SQ form factor fits snugly in most 5-inch frames. A typical session burns through 4–6 packs, so buy as many as your budget allows.
Battery Charger Preserve your batteries
Pick the charger that matches what you're flying. One for tinywhoops, one for 5-inch packs.
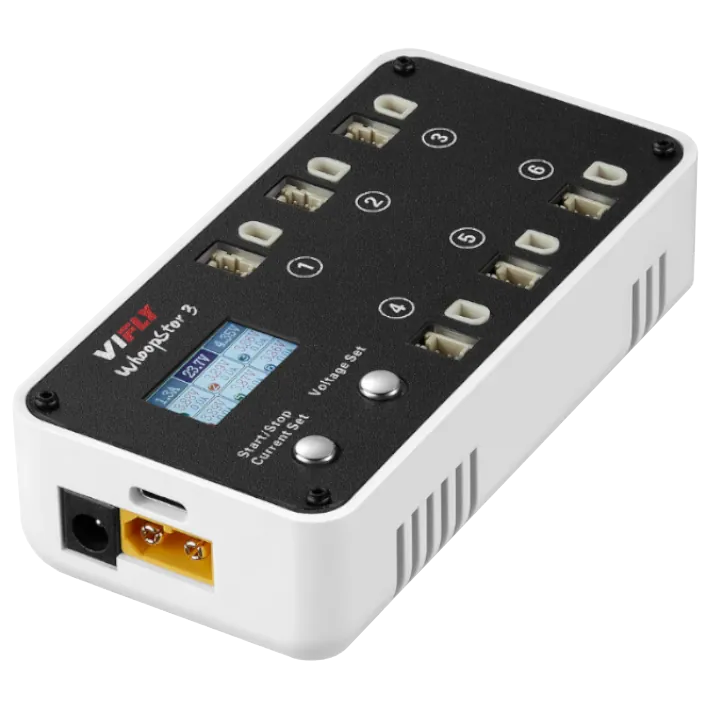
The VIFLY WhoopStor 3 charges and discharges up to 6 x 1S batteries simultaneously via USB-C. It handles storage charging automatically, keeping your packs healthy long-term. The go-to charger for any tinywhoop pilot.
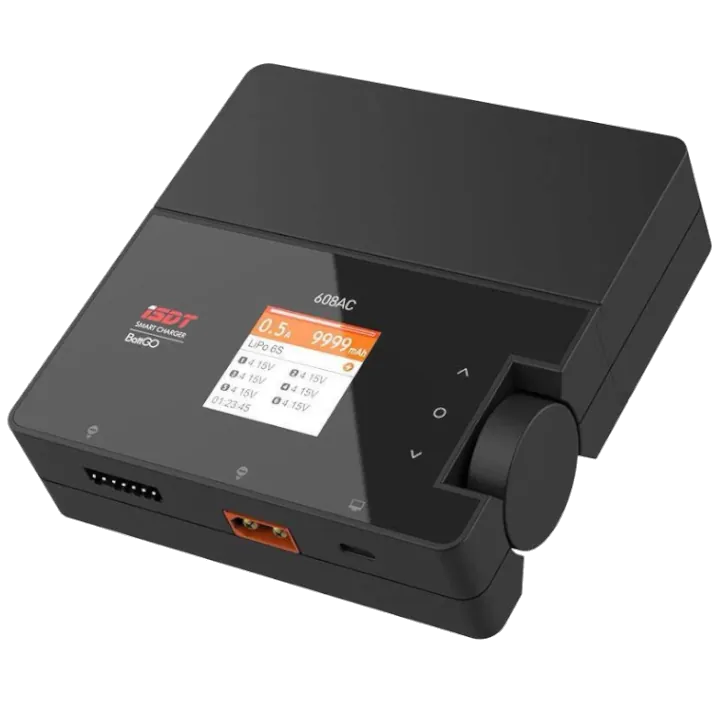
The iSDT 608AC does 50W on AC or 200W on DC with a separate power supply. It handles 1-8S LiPo's. The detachable power brick keeps the unit compact. It's an affordable all-around charger for your 5-inch batteries.
Accessories Build & maintain your drones
These are some accessories you may need to build and test your drone.
Soldering iron, screwdrivers, and essentials for building your 5-inch drone.
$ • Everything needed to buildIf you don't already own a soldering iron, screwdrivers, and pliers, this kit bundles everything you need to build your first drone. The included iron is basic but works for building a drone.
This is an essential tool when building your quad. This tests if there are any shorts or otherwise electrical problems with your drone and saves your electronics. It's a few dollars, but worth every cent.
Words of Caution
Depending on where you live, drones above a certain weight legally require you to be licensed to fly. I would definitely look up what limitations exist in your area. In the United States, for example, any drone above 250g (most fpv drones) require a Part 107 License and to be Remote ID Compliant. While I don't condone flying without a license or Remote ID module with drones above 250g, there are many that choose to.
You will hopefully grasp the power and mobility of these drones when you start flying in real life, but be careful of where, when, and how high you fly. Whether through experience flying or obtaining a license, you will better understand the importance of not flying too close to people, buildings, properties, etc. As long as you're mindful and courteous of others, you'll be just fine. Have fun!